Throughout 2017 I ran the WK2 with the OEM lower fascia. During the installation of the Hidden Winch Mount by Chief Products, I was able to trim it cleanly to fit their hawse fairlead, but some off-road trips and high snowfall made it pretty obvious that the Jeep needed a facelift to protect the front end from impending damage from rocks and other things that we’d be moving through and over. Thankfully Chief has thought this need out, and created their Lower Front Guard to protect the front end of the WK2 and its components. Due to the way their products integrate, I’d need to also replace my OEM Tow Hooks as they are not compatible when combined with the Chief Products Hidden Winch Mount and Lower Guard.
In preparation for our August trip with our local overland club, I spent an afternoon with my Jeep buddy Shaun installing these two products on the Trailhawk. Due to me already having the Hidden Winch set-up with my OEM tow hooks I was required to take off some of the parts that came with that system, but I skipped over that in the photos.
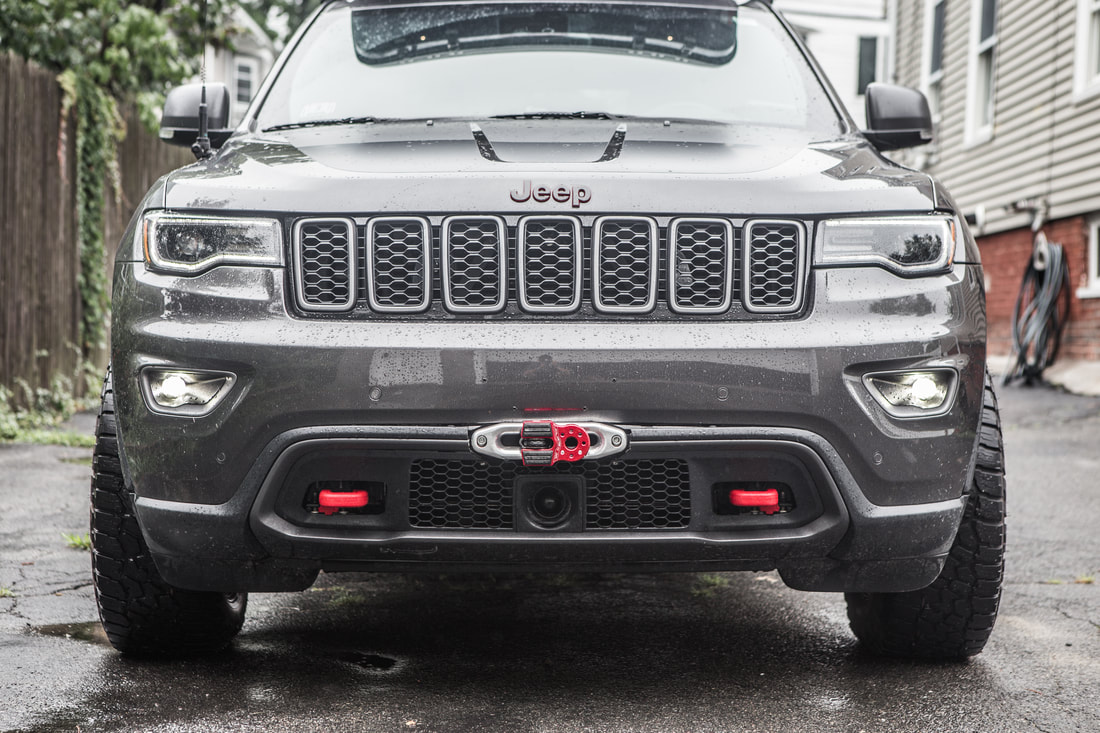
First up, an artsy photo of the front of the Jeep, then the new Chief Products:
In preparation for our August trip with our local overland club, I spent an afternoon with my Jeep buddy Shaun installing these two products on the Trailhawk. Due to me already having the Hidden Winch set-up with my OEM tow hooks I was required to take off some of the parts that came with that system, but I skipped over that in the photos.
First up, an artsy photo of the front of the Jeep, then the new Chief Products:
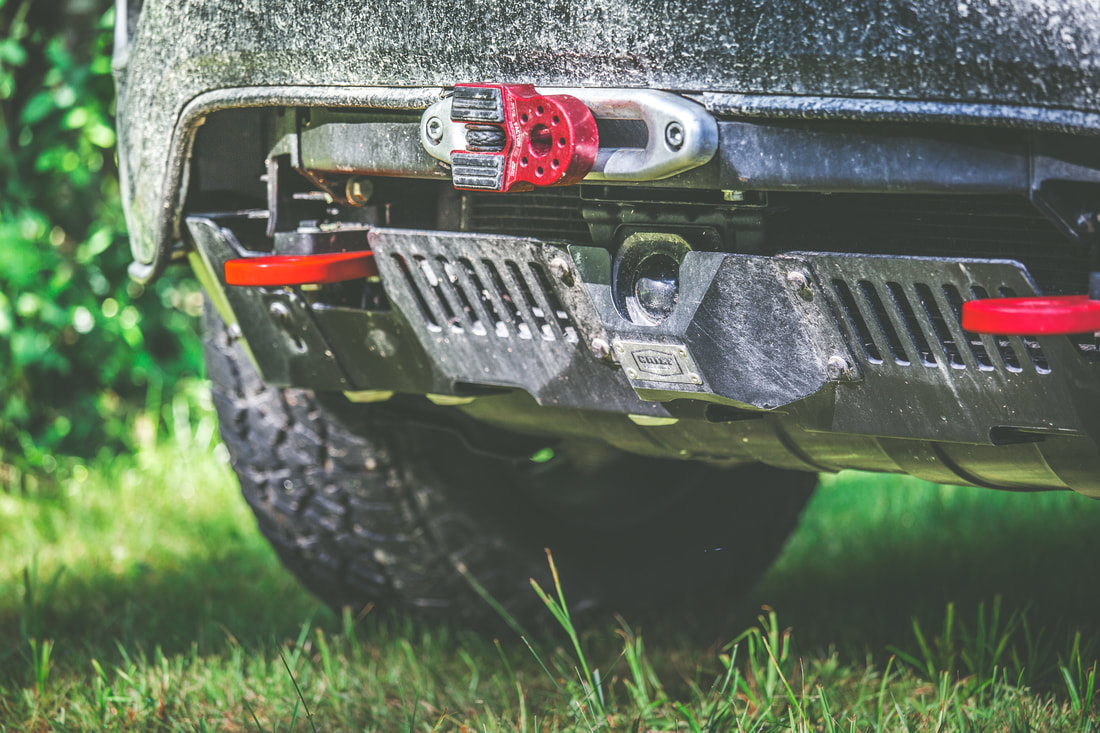
OEM Lower Fascia & Recovery Points
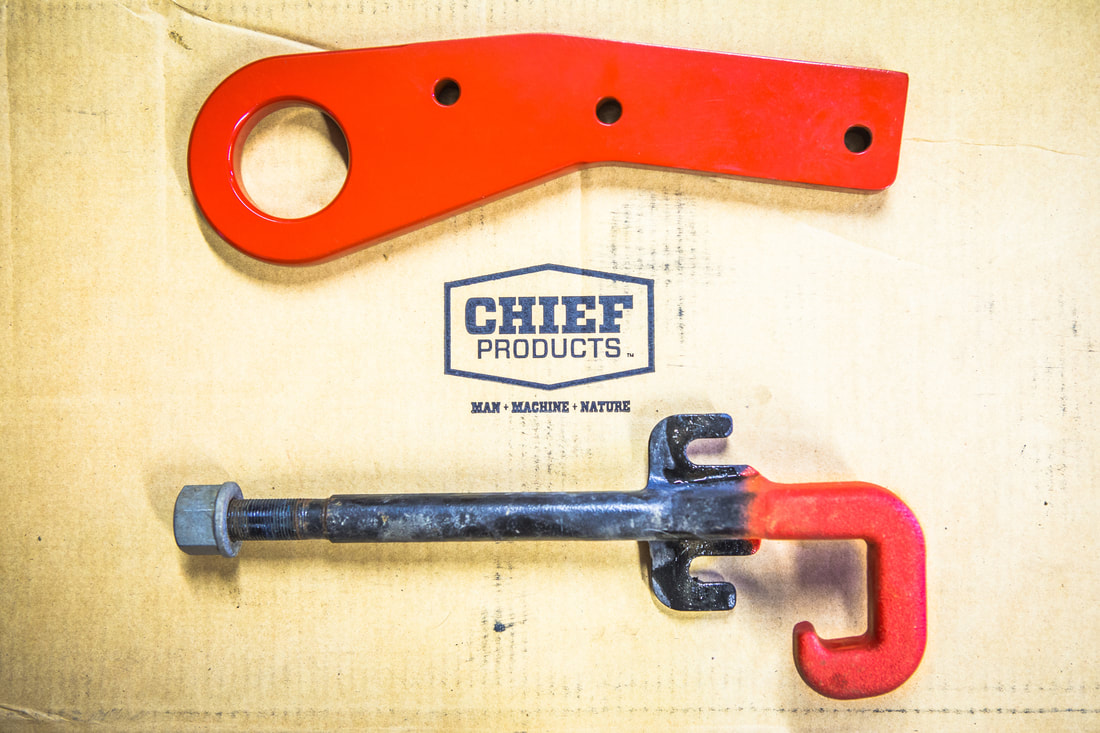
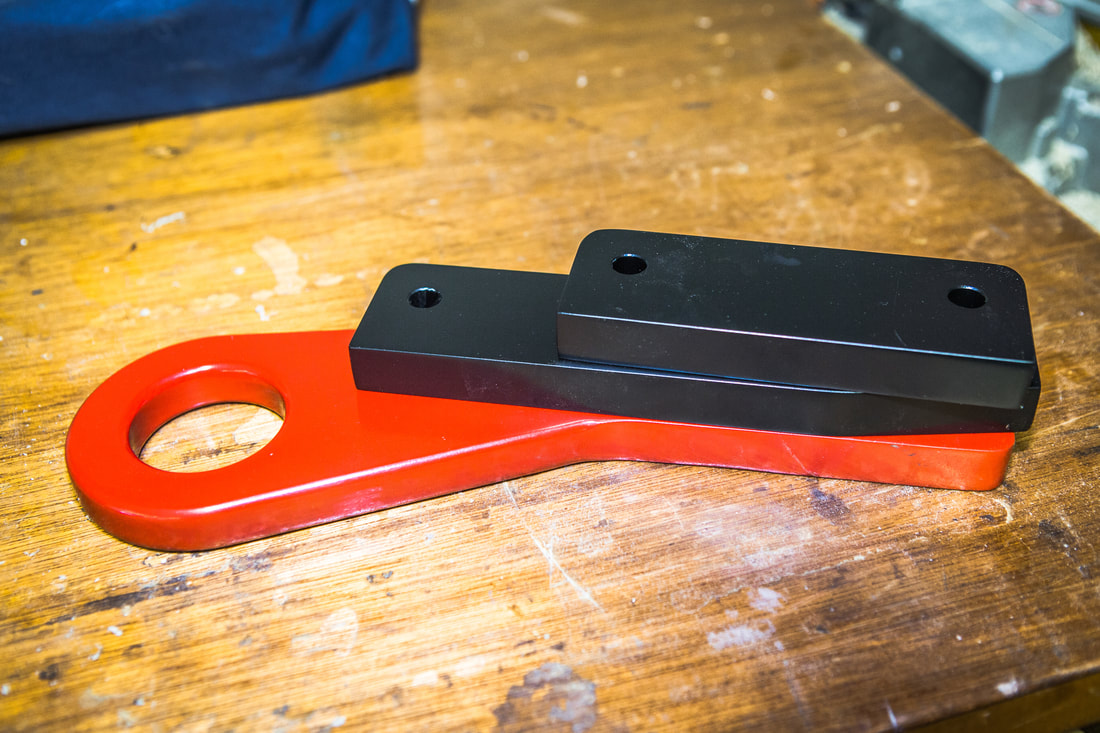
Chief vs. Factory Recovery Points
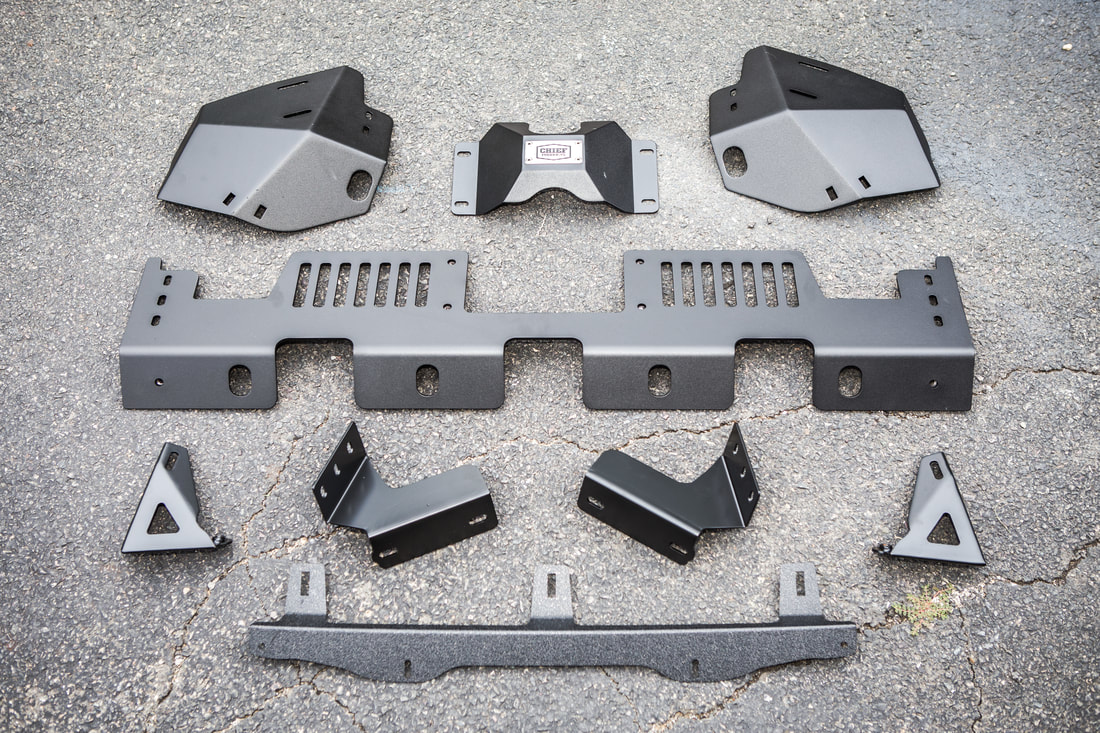
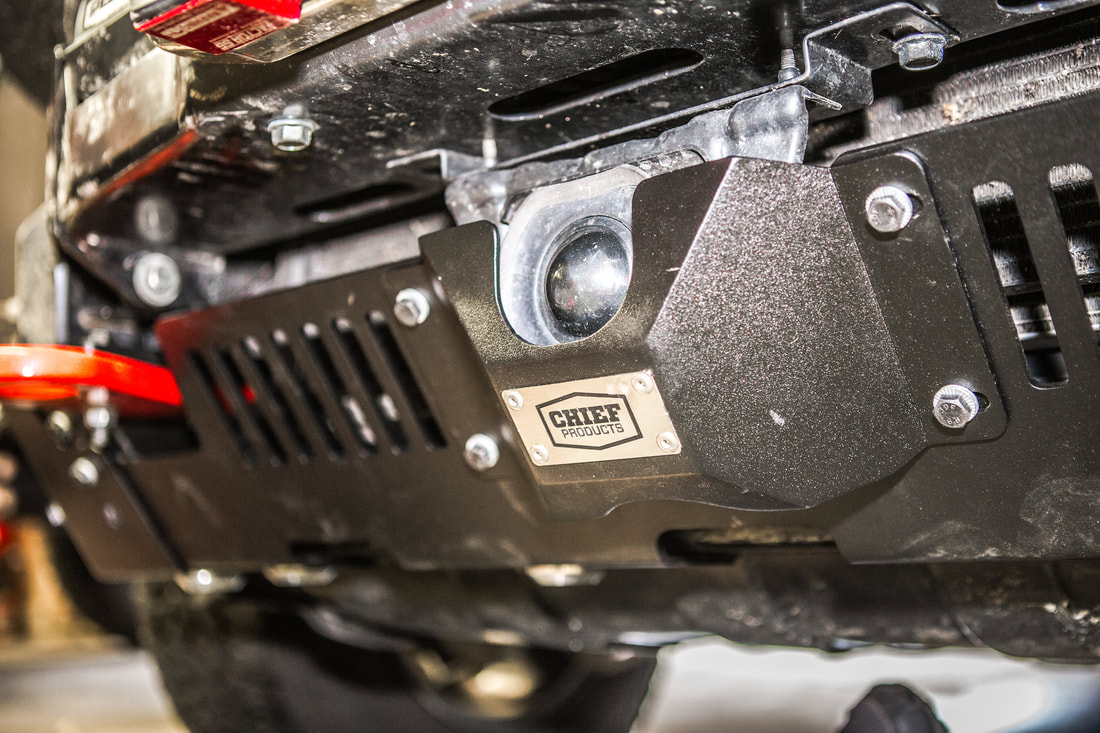
Lower Front Guard
Shaun and I got to work by removing the OEM Lower Fascia and front bumper. I’ve done this before to install parts so it was a familiar process, taking all of 5 minutes and requiring nothing more than a set of pliers, two sockets, and a gentle hand maneuvering the front bumper to a resting point. It took some finagling to get the factory tow hooks off the Jeep, but after we managed that it was relatively smooth sailing for the first bit of our project. Once they were removed and the Hidden Winch set-up was bolted back together, we moved towards assembling the new Chief Recovery points. These things are BEEFY and make the factory tow hooks look like children’s toys in comparison.
Comprised of three pieces of CNC cut steel and bolted together in a stack to create the Recovery Point, Chief rates these for nearly 10,000 pounds of working load strength, and a breaking point just shy of 18,000 pounds… Holy crap! I’m pretty sure the Jeep would disintegrate to dust before I hit this load amount. Add in some beautiful powder coating, and these things are as beautiful as they are robust.
One important note to point out is that upon the installation of these two products at the same time, the tow hooks attach to the Lower Guard’s chassis mounting bracket, and should therefor not be installed until that time. Unfortunately I didn’t catch this fact, so we ended up installing (and removing) the Recovery Points two or three times.
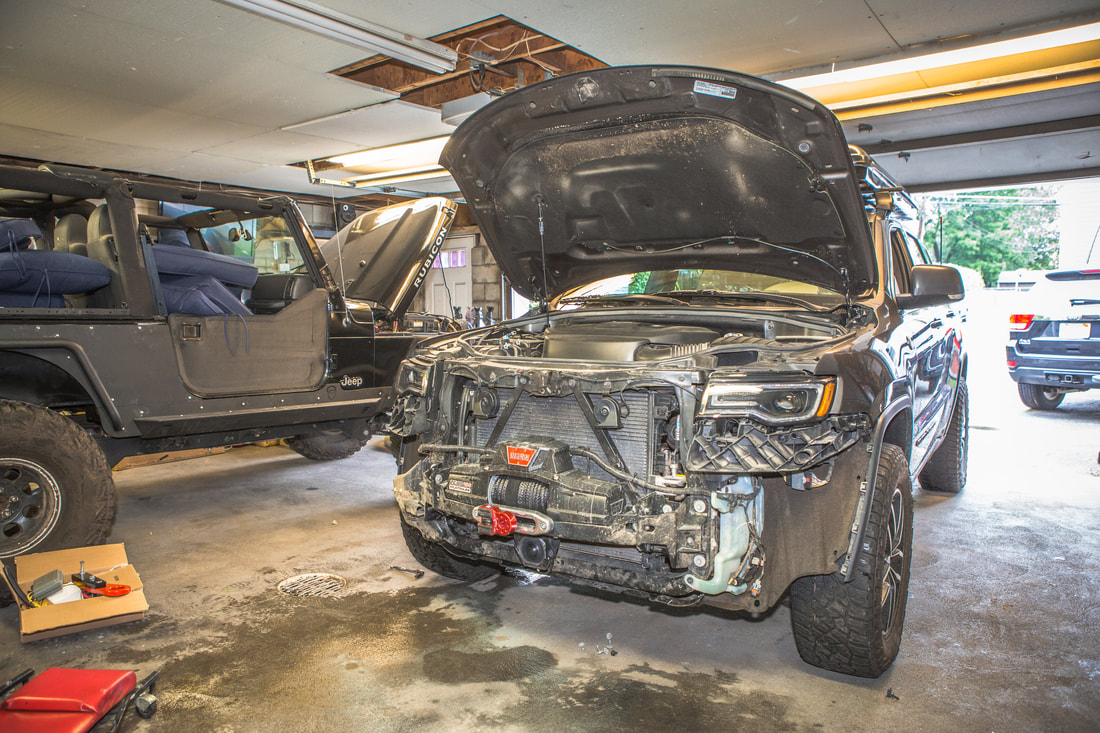 Front End Stripped Down | 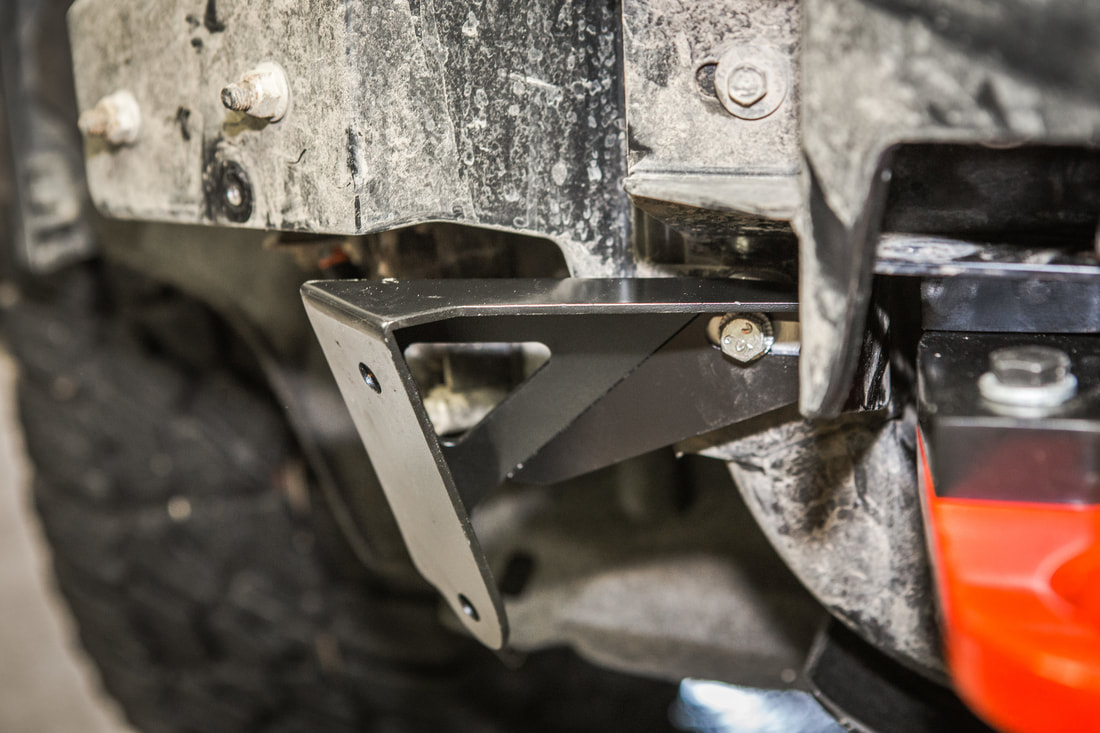 Corner Guard Brackets |
Chief Products Recovery Point Stack
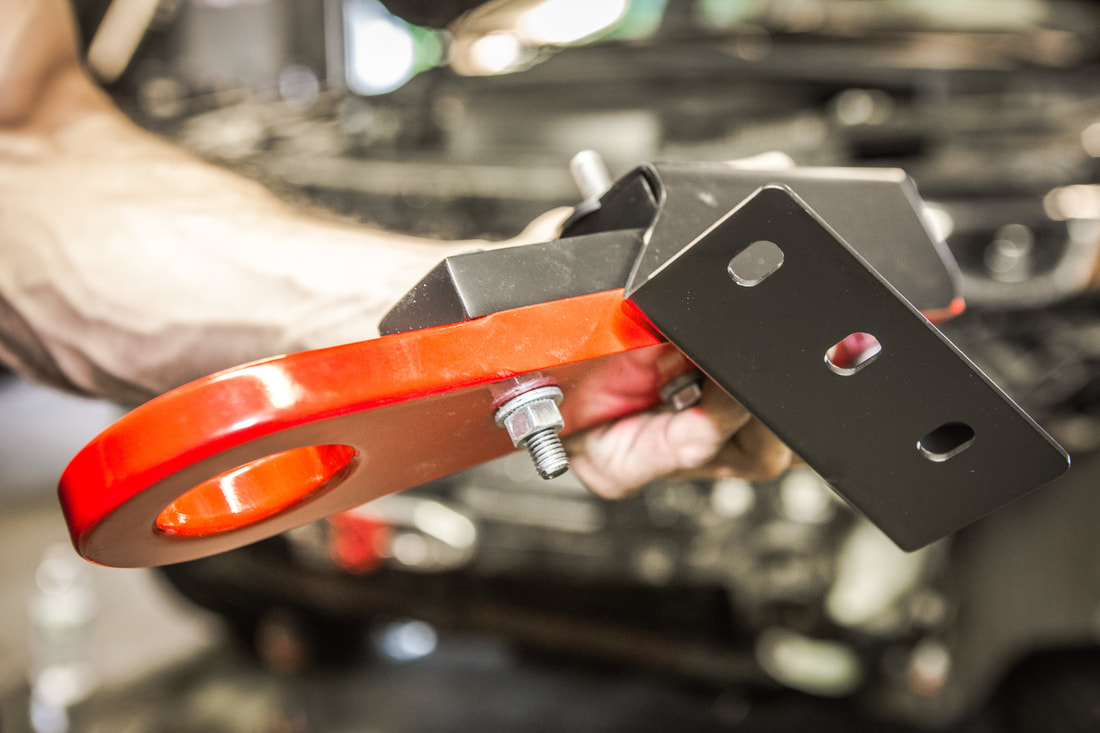 Chassis Mount & Recovery Point | 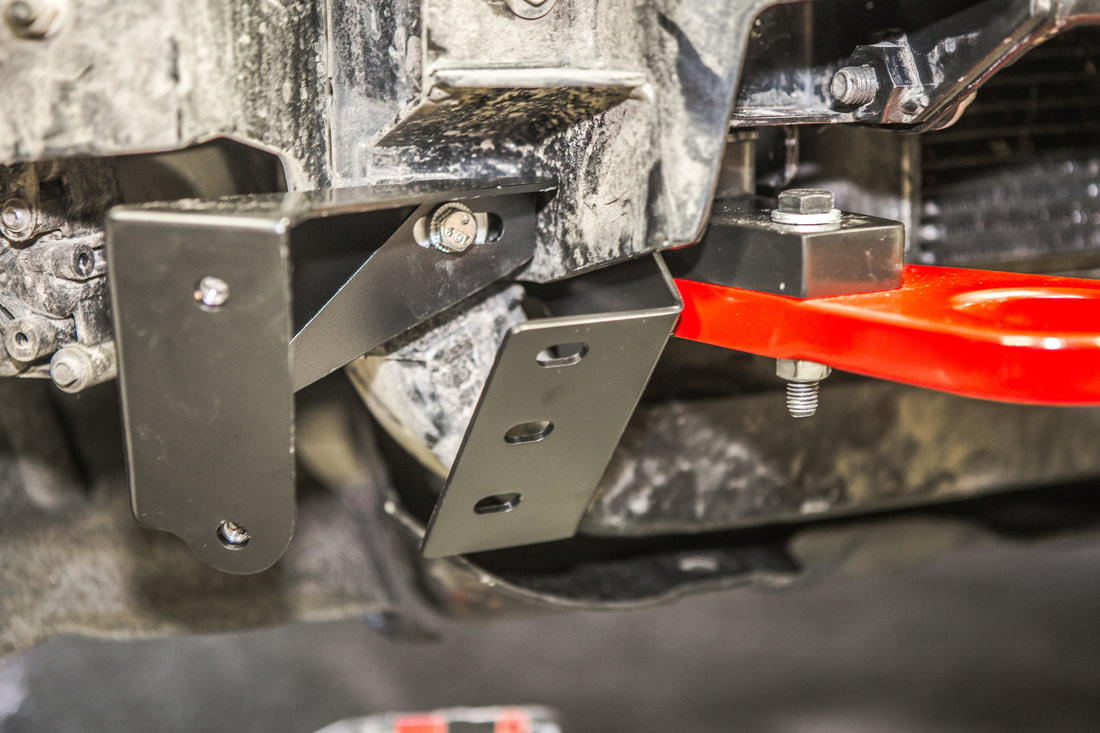 |
Following along with Chief’s exceptionally well-written instructions, we began by installing the corner mounting brackets to the WK2’s frame. These stick out to the driver and passenger side of the vehicle, and add rigidity behind the Lower Front Guard. From there we moved onto the (humorously final) installation of the Recovery Points with the chassis mounting brackets. From there the Center Section is ready to be attached on both sides of the chassis bracket to hang in front, awaiting more mounting bolts from the corner guards. Chief clearly lays out the tightening sequence as the final pieces of the puzzle are installed, ensuring that the Lower Front Guard is assembled and tightened appropriately. Shaun and I messed around with the idea of putting the OEM Front Fascia back on, as technically the Lower Guard is designed to work over/around the factory front end, but decided against it for the sake of aesthetics and function.

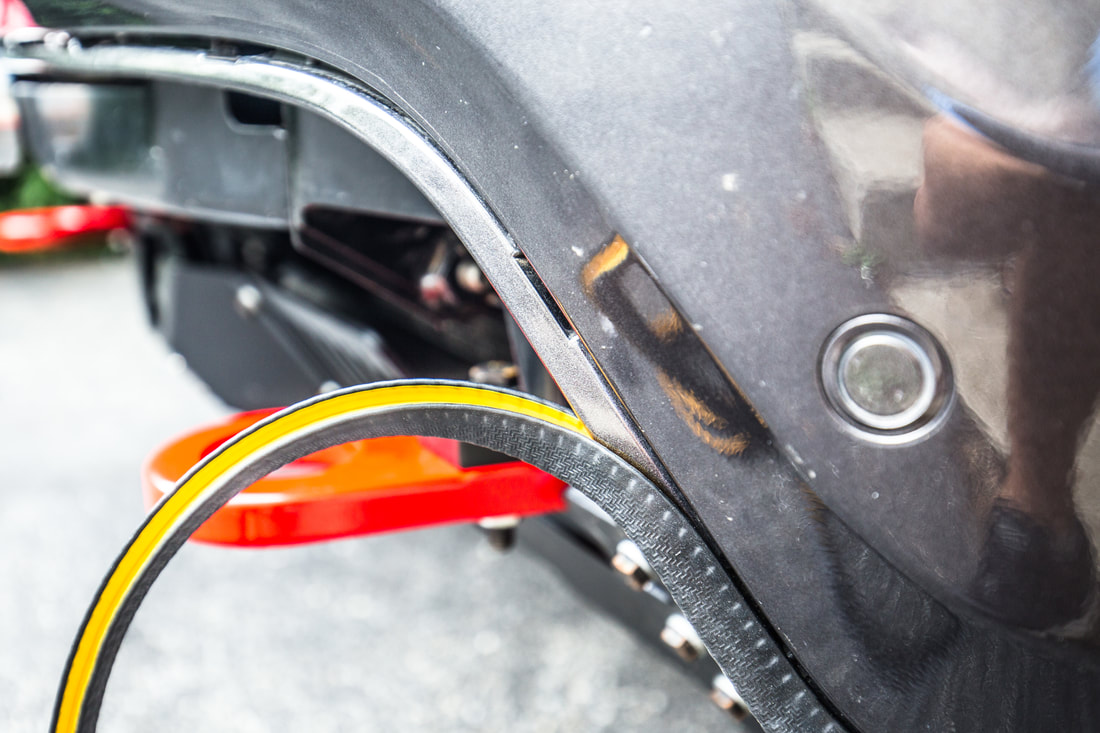
As a final touch on the project I bought some ¼” edge trim from Amazon and wrapped the front lower bumper edge with it. With the fascia being removed the factory bumper edge leaves a bit of an unfinished look, but this quick $10 fix makes a world of a difference in having the bumper appear finished. It’s got a metal core and double grip edges to hold it on, making sure it’s not going anywhere once we’re on the road and trails.
 |  |
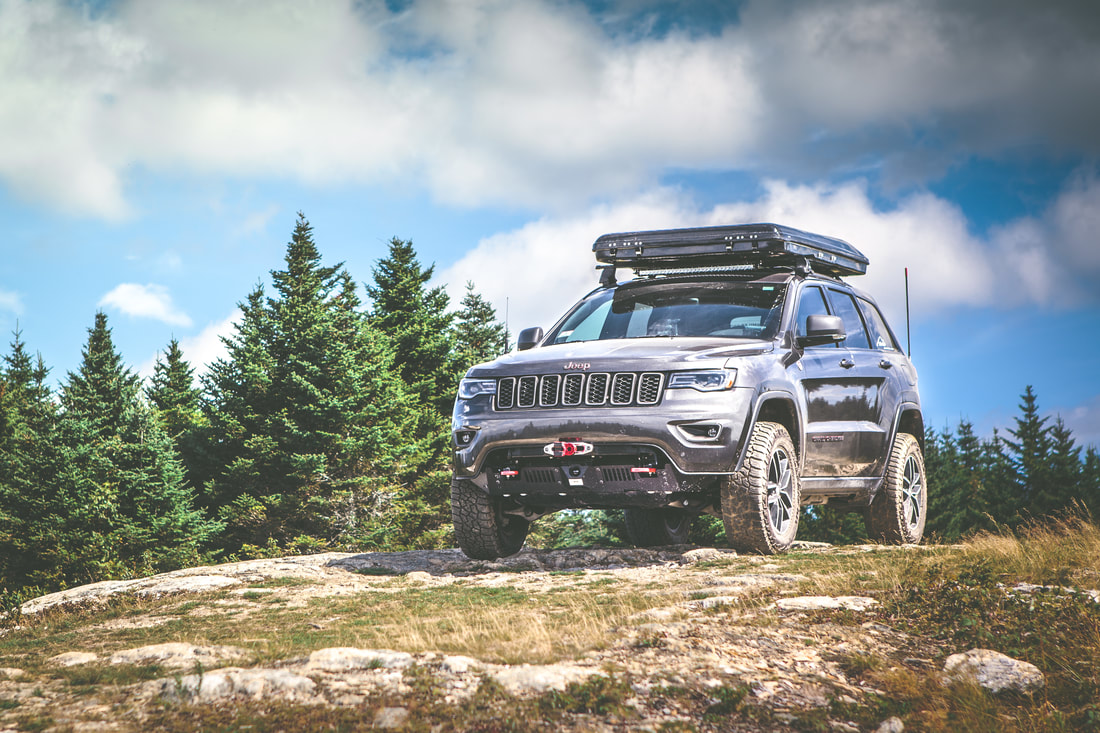
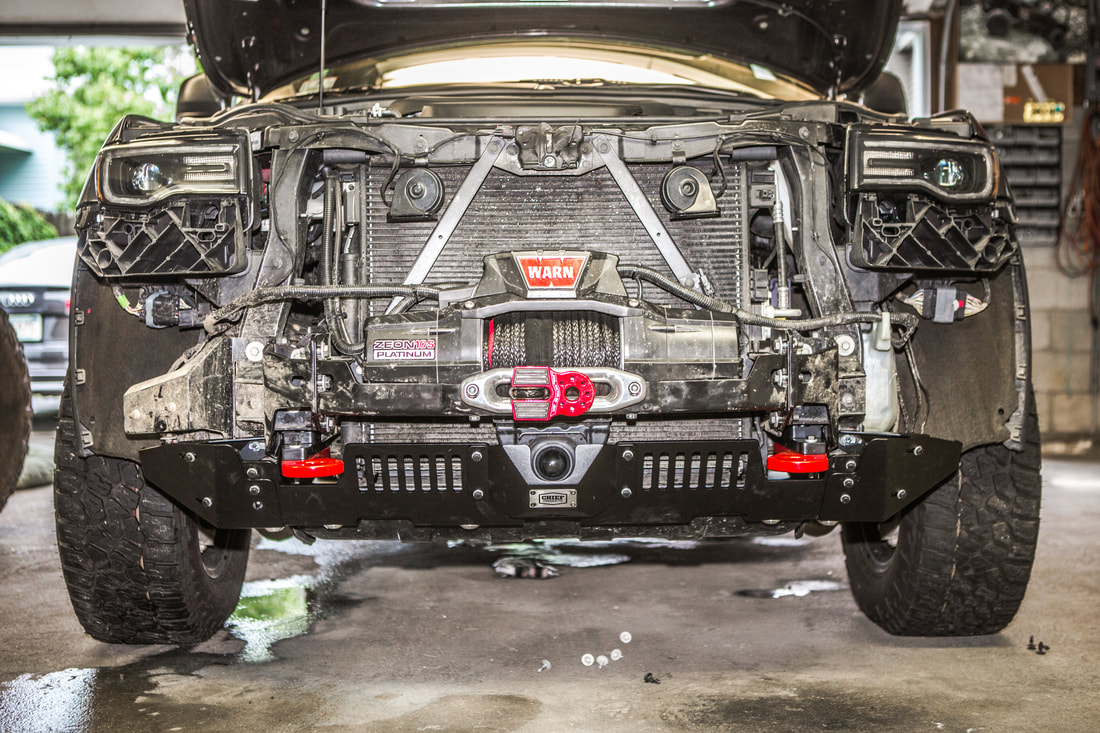
In the month after installing the Chief Lower Front Guard we put nearly 500 miles on the Jeep off-pavement on a combination of difficult mountain climbing trails, long-ignored fire roads, and high-speed well-groomed dirt roads. There were a hundred times that we crossed over terrain that would have scratched up or even torn off the factory fascia as it hung low over the front end. While Chief notes the system doesn’t raise the front approach angle over stock, you can see in the photos it also does an incredible job of keeping the (undoubtedly expensive to repair) ACC camera safe from front impact and damage.
Whether you’re looking for a facelift to improve the aggressive looks of the WK2, or are in need of a system to improve the strength and resilience of the front end, the Lower Front Guard system is one-of-a-kind in its function and design. I for one spend a lot more time looking back at the Trailhawk and checking her out both on the trails, and in the grocery store parking lot ;-)
As usual, I’m happy to answer any questions about the install via the comments section below or by email - [email protected]!