AFFILIATE INFO: PLease help support 2180miles.com - if you’re interested in Black Oak LED products for yourself, you can take an additional 10% off their prices by applying code “2180miles” at checkout.
While I’ve always been a Rigid Industries guy (full disclosure, technically this vehicle has one pair of their lights), a friend turned me on to a company called Black Oak LEDs out of Florida while he was working on his Tacoma build. I’d never heard of them before. I saw the quality of the product first, as Rob had 2x 4-LED pods on his front bumper, and learned of the incredible price point second. While the market for LED fixtures has quickly become flooded with cheap knock-offs and poorly assembled units at “affordable” prices on Amazon and other web portals, Black Oak manufacturers one impressively solid and powerful product. I reached out to their products team back in March and began speaking to them about my Trailhawk build, my interest in modifying the WK2 Grand Cherokee line in a way that not many others had done yet, and my intrigue into their larger scale LED product offerings. I was put in touch with a guy named Chris who was equally as interested in getting me on their list of sponsored vehicles, and after a month or so of talking, we got the ball rolling.
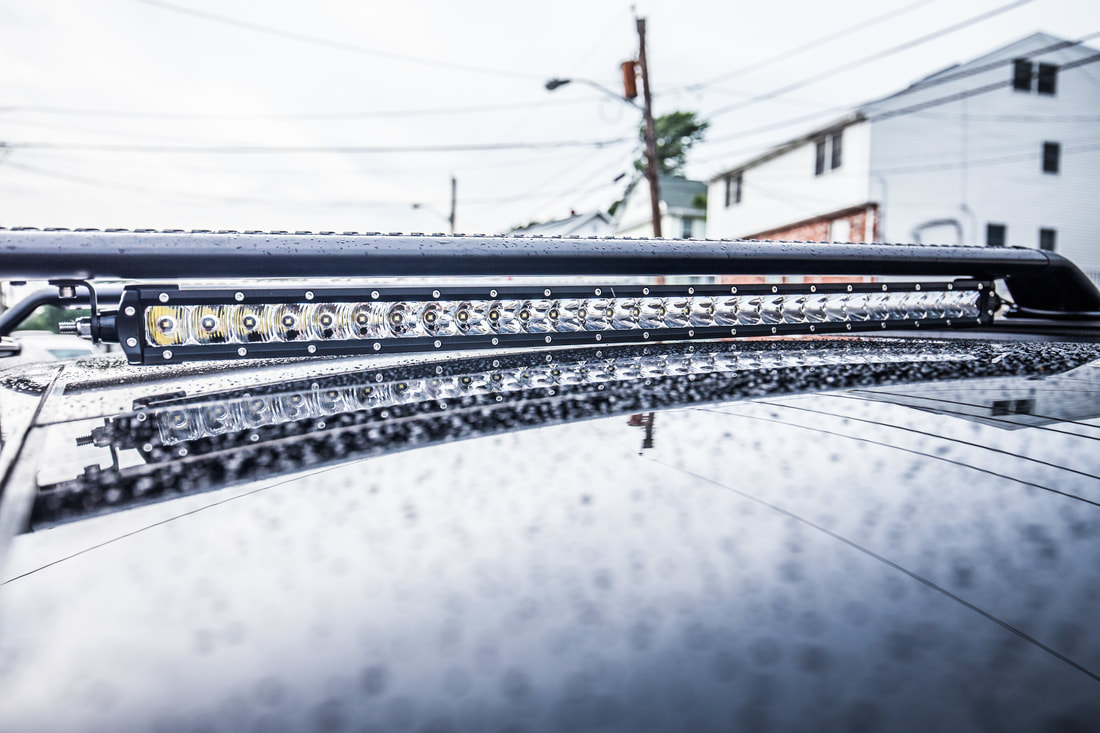
Despite quite a bit of research into previous WK2 owner mounts/installations, it didn’t seem that anyone else had ever put a light bar on the roof. Plenty of other owners have done small light bars and pod fog lights in the lower fascia on either side of the ACC camera, though save for one minimally documented roof bracket, it seemed that I was again in uncharted territory for my installation. My plan/hope was to get as wide a light bar as possible, packing in as many lumens as possible, into a very sleek and minimally invasive housing. This without question limited me to a single-row kind of fixture at whatever width the roof rack crossbars would allow. My plan was to tap and drill the cross bar piece to the mounting pattern of the light bar brackets, and cross my fingers it would fit between the cross bar and the glass of the roof. In measuring out the Rhino Rack cross bar to 36” wide after installing it, I then went to work checking out Black Oak’s single-row series of lights, finding their 30” to measure in at 34” with the mounting brackets attached… perfect!
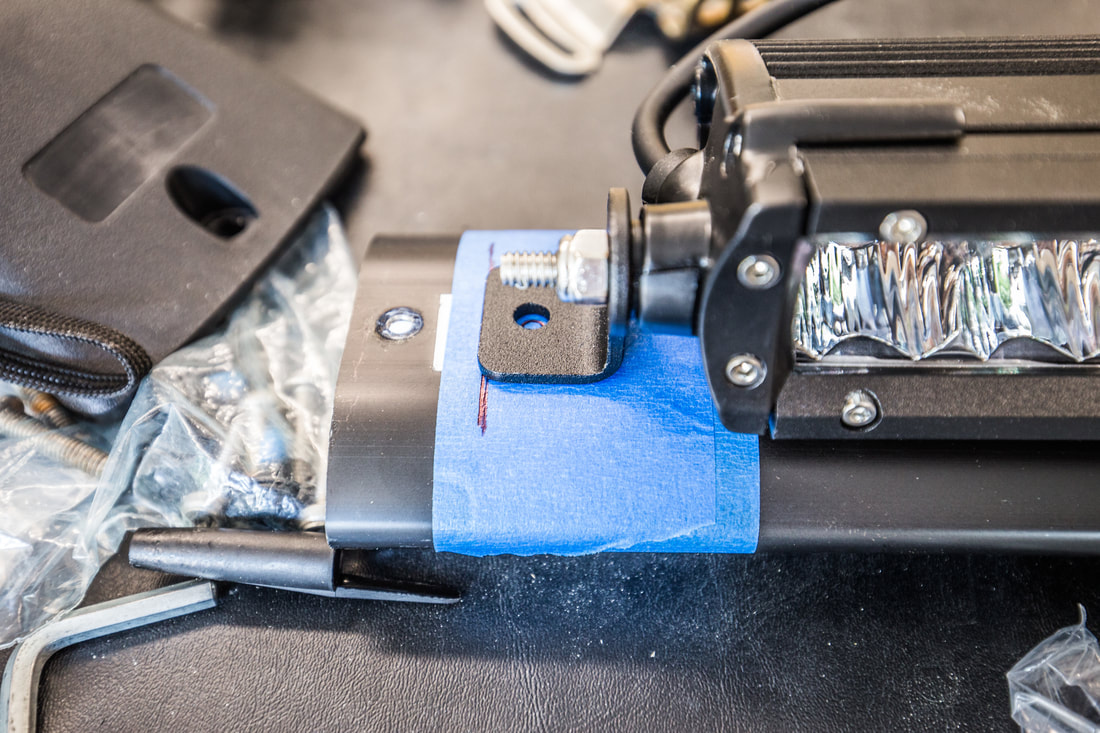
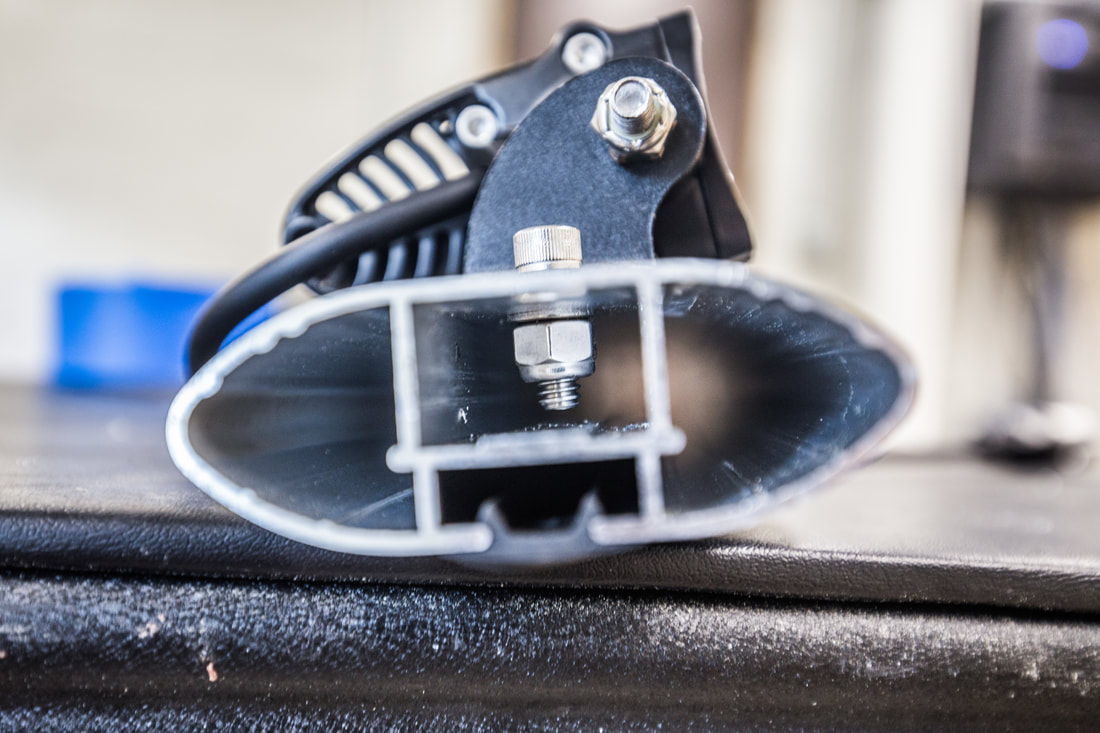
Placed the order on a Tuesday, the light bar shipped on Wednesday and was delivered on Friday with a hand written “Thank you” on the invoice. So far, Black Oak was winning my vote a hundred times over. I eagerly unboxed everything upon returning from a work trip and discovered that despite my attempt to pre-measure everything, there simply wasn’t enough height under the cross bar to allow for the light to fit. Ugh… dead in the water. So after some thought I took it to the local fabrication shop and had them shorten the height of the Black Oak stainless bracket by 3/8”, but that didn’t work either. So I called Black Oak and asked if they could custom make me a bracket, and after speaking with John on the other end he suggested I try their super-short-low-profile-fits-anywhere-awesome-bracket… for an easy to reason $15. It was delivered in 2 days and worked perfectly.
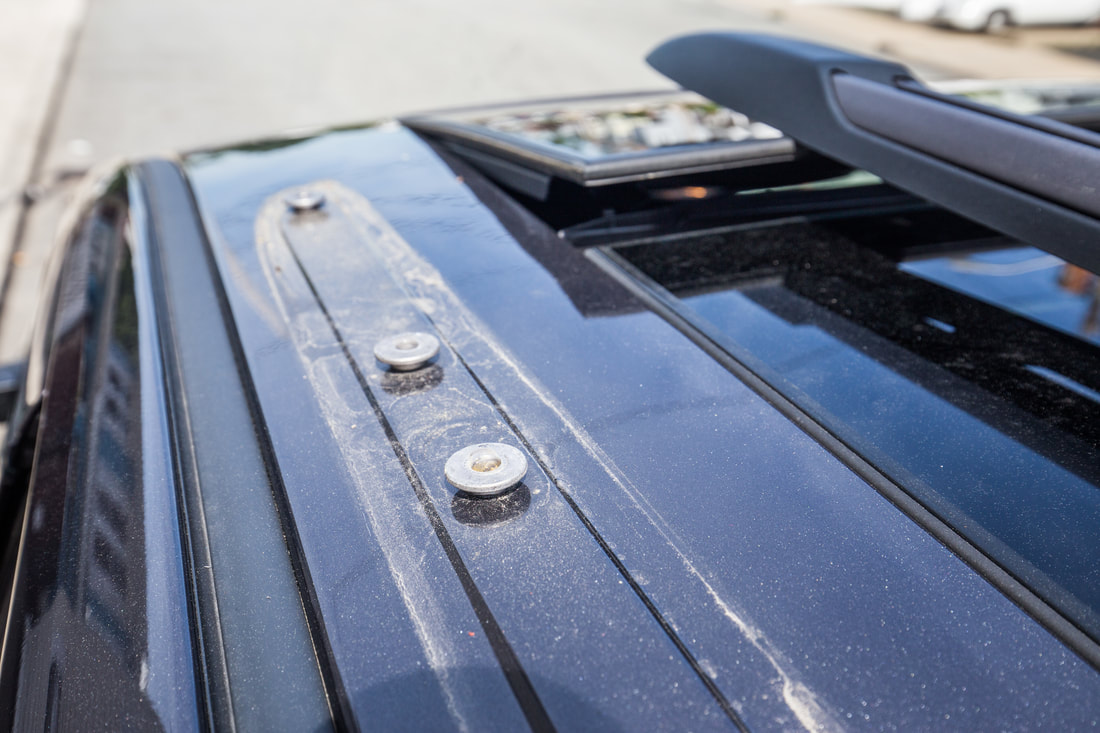
After all these pieces were in order, it took all of 20 minutes to get the cross bar tapped out and finagle my trimmed mounting hardware into the exceptionally narrow tolerance height of the cross bar.
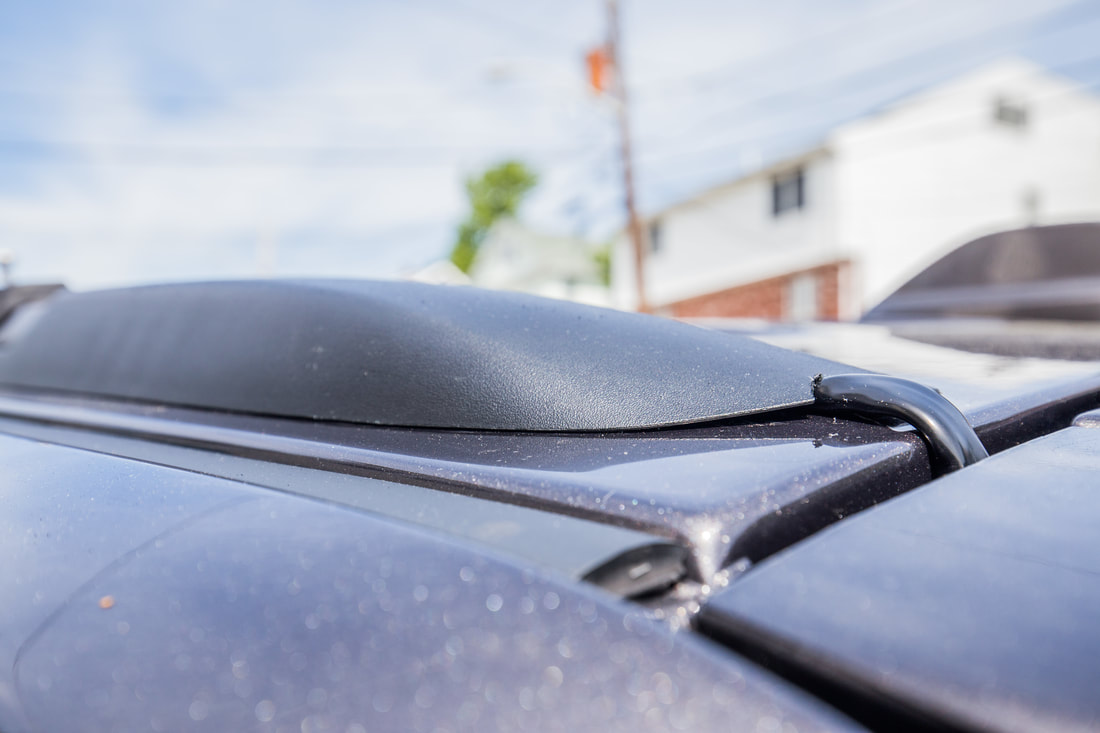
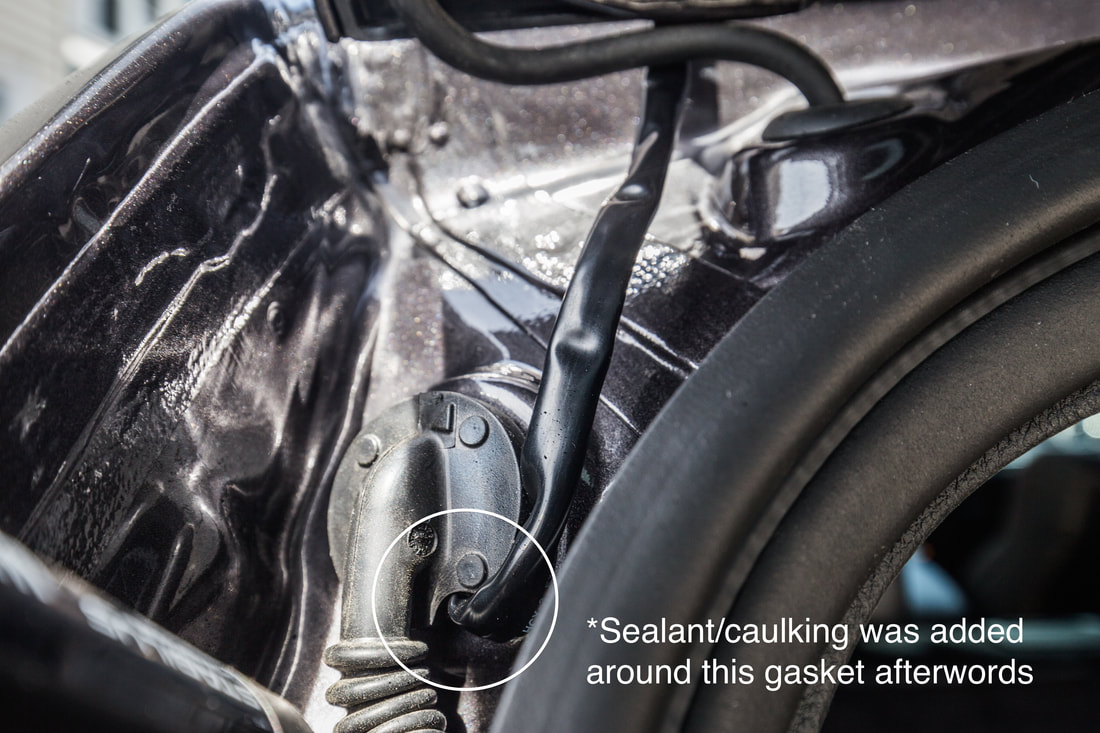
Once the wire was run through the new exit point from the trim piece, I began removing the rear upper trim pieces from the inside of the Grand Cherokee. I have to come to very much dislike removing trim pieces, but it’s the only way to do things cleanly and have myself feel like I’ve done a professional install job, which has become important to me while modifying this vehicle. I toyed with how to get it into the cabin, and ultimately decided to pull out the gasket that houses the controls for the hydraulic tailgate piston. It’s a gigantic gasket, and upon removal I saw that there was plenty of room to sneak the shrink-wrapped Black Oak harness inside of there.
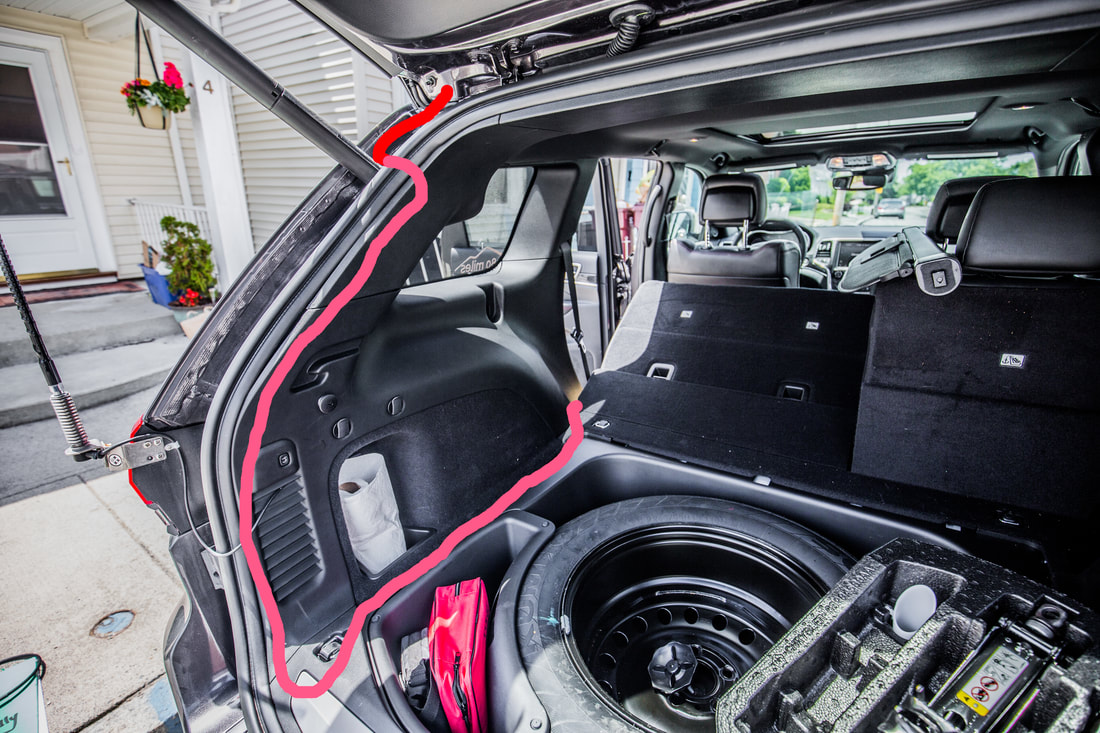
I took the same dremel sanding bit and carefully trimmed back just enough of the gasket’s outer edge (lower edge, ideally to alleviate excess water from getting near it) and fed the wire harness through to the inside of the d-pillar. It’s important to note as you look at the photo below, that I went back later with clear silicone sealant and liberally applied it around the gasket to seal up whatever tiny openings may have arisen from my adjustment to the OEM seal. From there I ran the wire down the d-pillar to the bottom of the tailgate, unscrewing the factor internal cargo hook and running the wiring under the trim pieces and along the length of the spare tire trunk trim piece towards the middle bench.
You can see in the photo below that I highlighted the wiring harnesses external stretch in red, then the pink portion shows where it’s being run inside the vehicle.
The final bit here was tying the Black Oak harness into the control box I had just built and installed a week or so prior. FYI, for anyone trying this, I ordered one of the Black Oak 8’ extensions for the wiring harness, which I was VERY happy to have for this installation. Once the grounds and +12v leads were connected to the appropriate ground bus and relay, I tied the light bar into the waterproof connection point on the roof and tested the dashboard installed switch panel to activate the light.
HOLY BRIGHT.
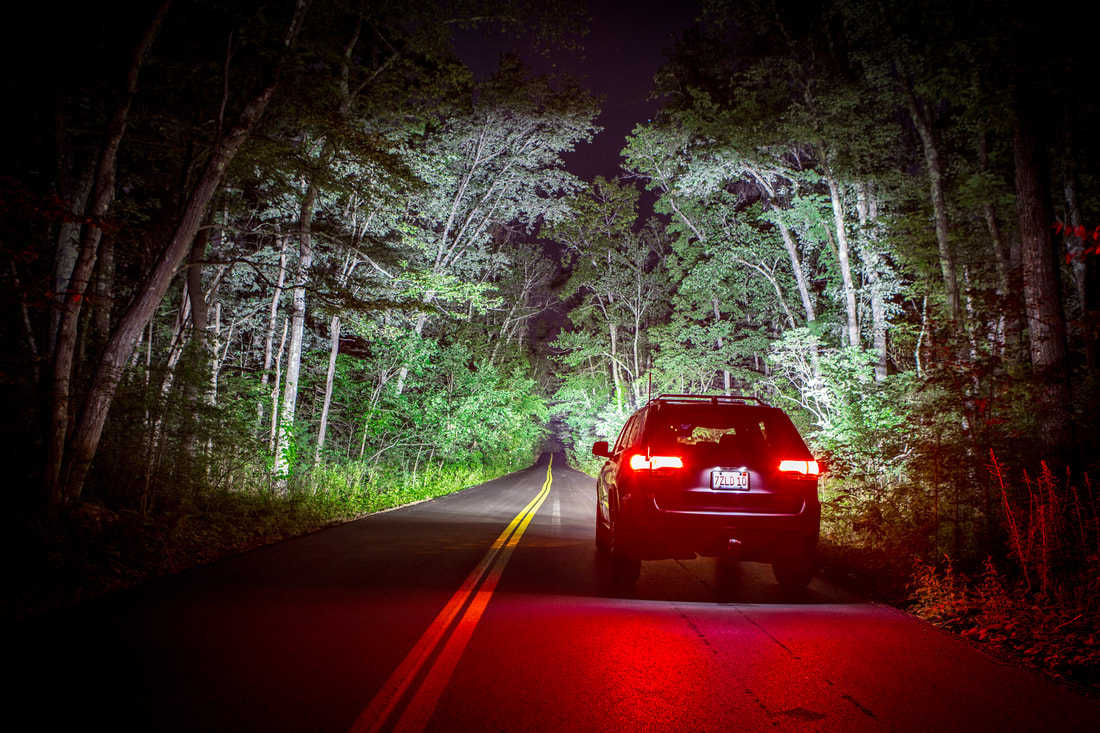
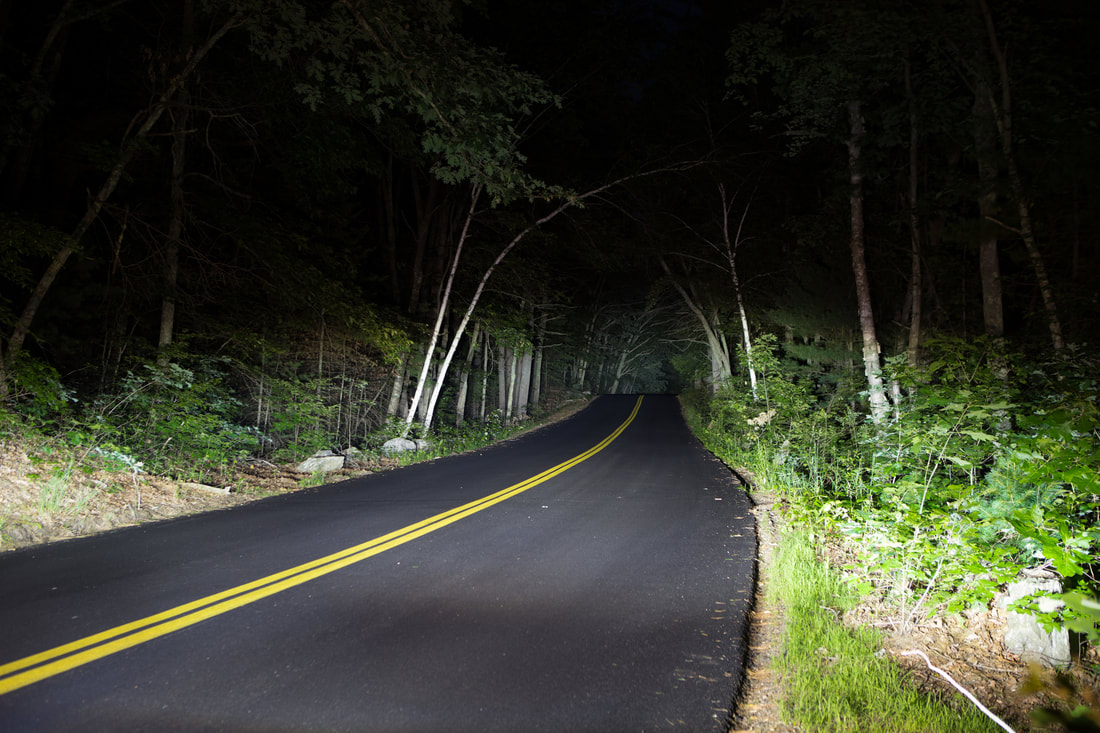
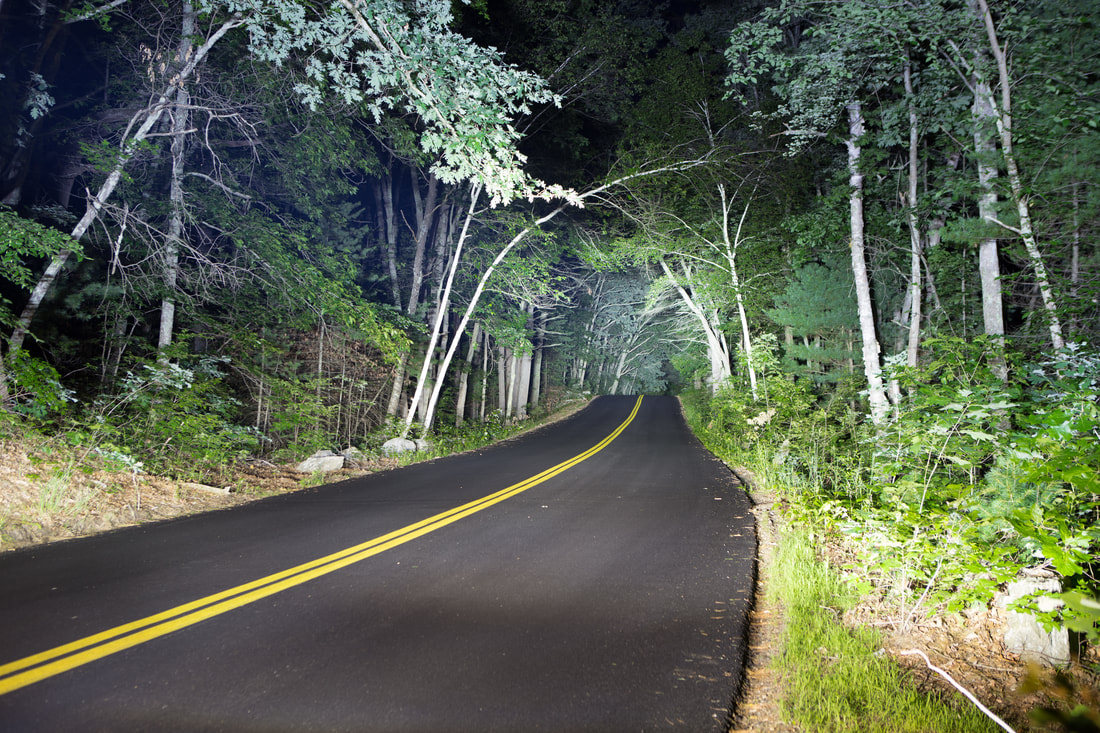
That’s about all I can say. The specs on this 30” bar using the available 5w CREE LED’s is roughly 16,500 lumens. Let me tell you, even in broad daylight, this thing is blinding. Let me report that this thing is one of the brightest light fixtures I’ve ever seen… and that’s as someone who works in the concert production industry with some serious lighting systems. I’m exceptionally impressed with the build quality, customer service, and actual power of this light bar, and look forward to ordering more products from Black Oak in the future.
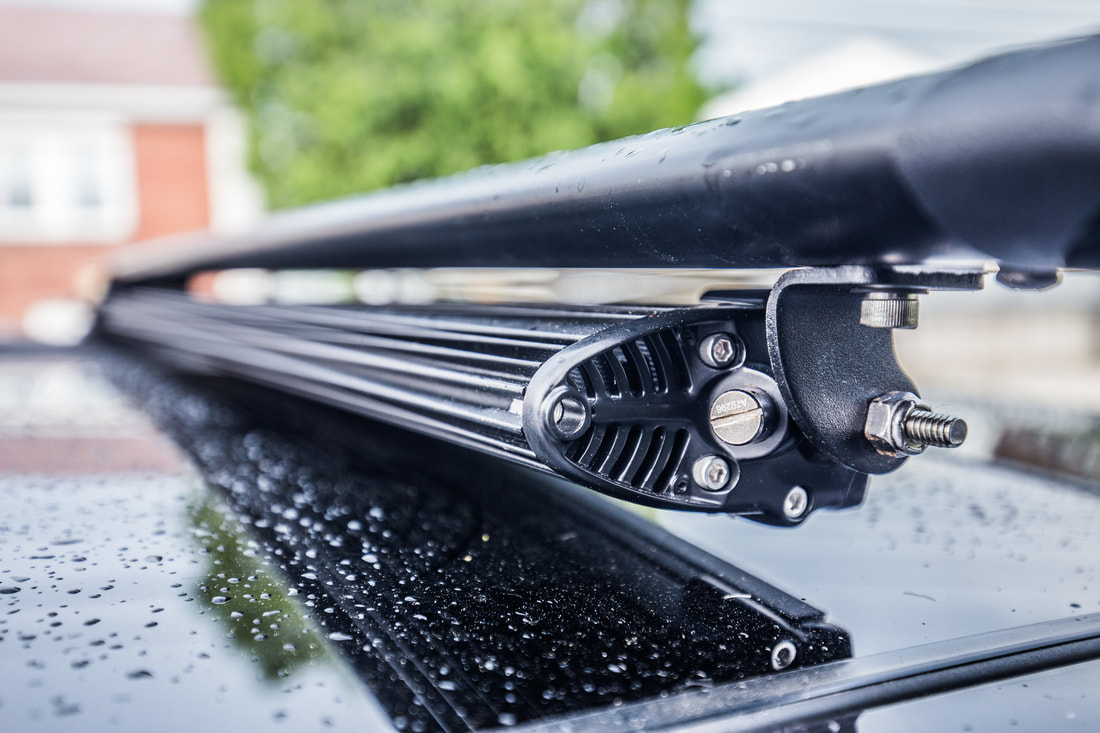
Here are the final close-up installation photos... more to come to show off the actual power this thing packs into such a small form factor. In the end, it wasn’t a huge pain to get this installed in what I truly believe is a very clean form, barely noticeable unless you’re really looking for it up there. Thankfully there’s a few millimeters of space under the light above the glass, and also enough room between the light and the cross bar to fit a mounting bracket for a Roof Top Tent in the future if my path goes that way
That’s all for now – talk soon about some other neat stuff.

